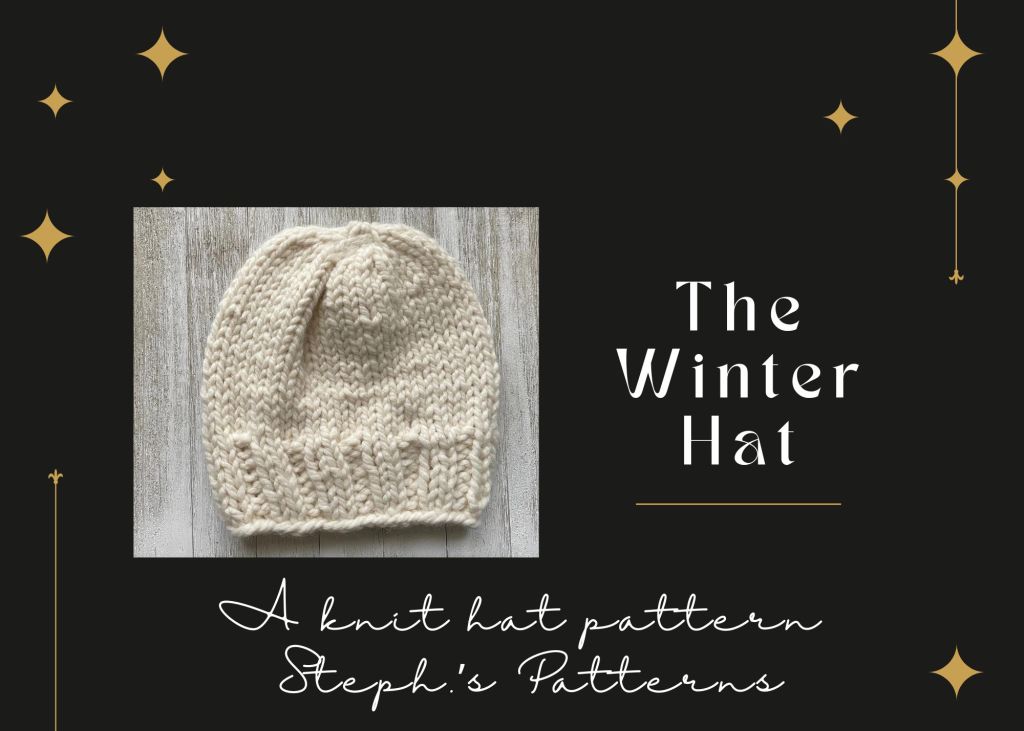
The Winter Hat, A Knit Hat Pattern
What you will need
One skein of your favorite bulky weight yarn, size 6. For this pattern I used Lion Brand’s Wool Ease Thick and Quick in the color Fisherman.
A tapestry (darning) needle.
Circular knitting needles size 11 8mm 16”.
A swatch ruler to measure to get gauge.
Measuring tape.
For crafting only scissors.
What you will need to know:
How to knit
How to purl
How to knit the knit stitch flat
How to join stitches to work in the round
How to knit 2×2 ribbing (knit 2 and then purl 2)
How to stitch up the hat with a tapestry needle (darning needle)
The pattern
Step 1
To get started, first let’s make a gauge swatch. Start with knitting a flat square. Start with casting on 10 stitches. You will need to knit 2” of ribbing, followed by 7 rows of the knit stitch. This is for the standard 4×4 swatch.
Now that you have knitted your swatch you can determine if you will need to increase or decrease stitches and how many rows of ribbing you will need to knit by measuring the ribbing to 2” and the whole swatch to 4×4”.
Step 2
To begin the hat, cast on 35 stitches for the baby hat, size 3-6 months
Cast on 45 stitches for one size fits most
Cast on 49 stitches for a large
(for more sizes please see the chart on the last page)
Step 3
Join for working in the round.
Step 4
Knit 2” of 2×2 ribbing.
Step 5
Work the knit stitches for a total of
18 rows for the baby hat and
22 rows for the one size fits most and the large.
Step 6
Let’s measure; the finished hat should be
8” top to bottom and 6” across for a total circumference of 12” for the baby hat
10” across and 10” top to bottom for a total circumference of 20” for the one size fits most
10” top to bottom and 12” across for a total circumference of 24” for the large
Step 7
Cut a 12” tail.
Step 8
Use a tapestry (darning needle) needle to get the stitches off the knitting needles by casting off.
Step 9
Flip the hat inside out and stitch the hat together by covering up the hole and then weave in the ends and cut off the rest of the tail.
Step 10
Weave in the ends from the beginning of the hat.
Step 11
Flip the hat right side out.
That’s all, I hope this pattern helped you to make a knit hat either for you or for your favorite person. Enjoy!
You may use this pattern to sell finished items. Please leave a review and feel free to message me if you have any questions.
rosemaeknitwear.art.blog
etsy.com/shop/stephspatterns
Stephanie Lewis, Owner and Maker of Rose Mae Knitwear
September 18, 2023, Updated November 22, 2024
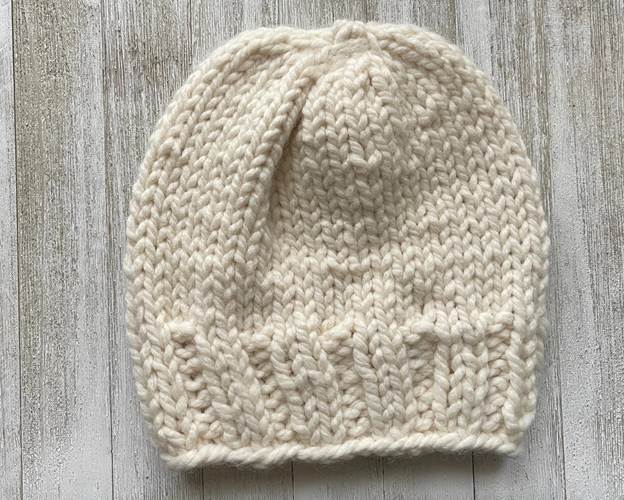
The hat in this photo is for one size fits most.
| Baby 3-6 Months | cast on 35 stitches | 18 rows | 8” top to bottom and 6” across for a total circumference of 12” |
| Baby 6-12 Months | cast on 37 stitches | 18 rows | 8” top to bottom and 6.5” across for a total circumference of 13” |
| Toddler, ages 1-4 | cast on 39 stitches | 18 rows | 8” top to bottom and 7” across for a total circumference of 14” |
| Children | cast on 41 stitches | 20 rows | 8” top to bottom and 7.5” across for a total circumference of 15” |
| One Size Fits Most | cast on 45 stitches | 22 rows | 10” across and 10” top to bottom for a total circumference of 20” |
| Large | cast on 49 stitches | 22 rows | 10” top to bottom and 12” across for a total circumference of 24” |
This pattern is free, the link to Etsy is for any one that would like to give to support my hobby by purchasing a downloadable printable pattern.

Leave a comment